

Step by Step Guide
- Log in to My TELUS
- Select the My Profile tab at the top of the page

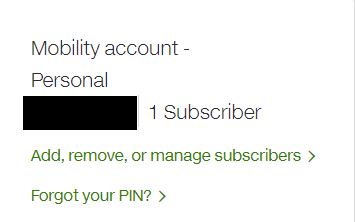
- If you have multiple accounts with TELUS, select the desired account
- Select Forgot your PIN?
- Select a method of verification to receive the 6-digit verification code on the selected method of contact:
- Phone numbers used in the account to receive call or SMS
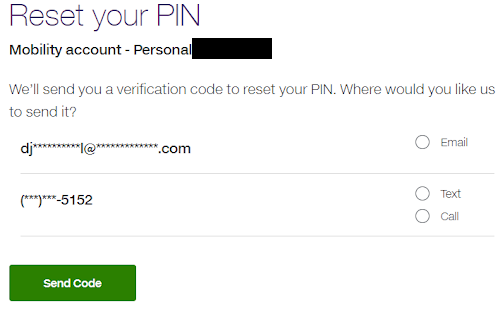
- Enter the 6-digit verification code
- Select the new PIN. Please do not select a weak PIN. Repetitive PINs such as 000 or sequential PINs such as 1234 are not accepted
- Enter the new PIN again to confirm
- Select Submit
- Confirmation page will display
Some examples of a weak PIN: Last 4 digits of your phone number, date of birth.
- Log in to My TELUS
- Go to My Profile from the left-hand sidebar
- Select Contact & security settings
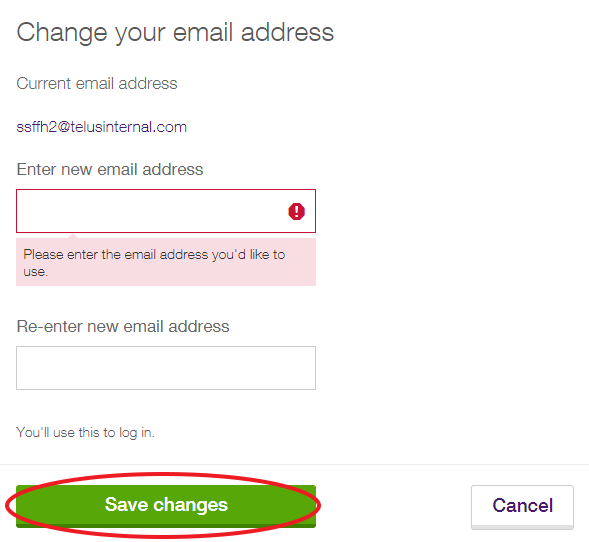
- Under Contact information, select Update > next to your Primary Email
- Enter your new email address and re-enter to verify
- Select Save changes
- Log in to My TELUS
- Select My Profile from the menu at the top

- Select the desired account number if you have multiple accounts with TELUS
- Select Change Billing Address

- Enter your new billing address information. If the address cannot be found through auto-complete powered by Canada Post, enter the address manually by selecting Add it manually
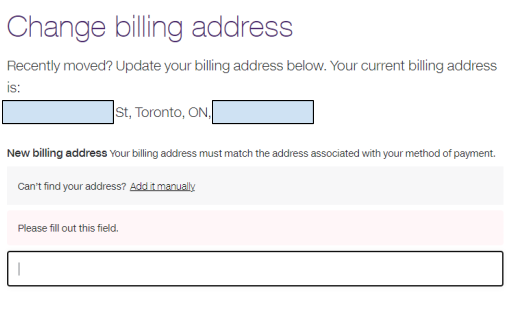
- Confirm your new address and select Submit. Please ensure your billing address matches with the address associated with your method of payment
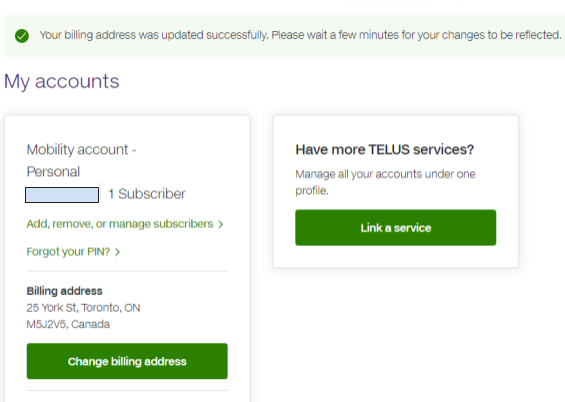
- A confirmation message will be displayed with the updated billing address
The account owner determines the account privileges of all members and the account manager can oversee these privileges (with the exception of the owner's account rights). The account owner and manager may grant access to new users, modify a user's privileges or terminate a user's access to the account.
If you would like to cancel an account or service, please contact us.
Set up Access
- A banner featuring all pending access requests will be made visible
- Select Set up Access on the requests you wish to approve

- Select the role which you wish to assign the user.
- Note: This will control the user's range of privileges on the account. Learn more about user privileges.

- Note: This will control the user's range of privileges on the account. Learn more about user privileges.
4. Assign phone numbers.
- Note: It is optional to assign a phone number to a manager. However, it is mandatory to assign at least one phone to a member, as this determines what phone(s) the member will be able to access on My TELUS.
5. Select Confirm Access
Decline Access
- Select Decline Access on the banner, or
- Head to Set up Access and select Decline Access at the bottom of the page
Change Access
- On the profile which you wish to modify, select Change under the access level column
- You will see the user's current settings. Apply the desired new settings to this profile
- Select Confirm Changes.
- Note: If you wish to cancel the changes, select the back button leading to the Manage account users page.
Remove Access
- On the profile which you wish to remove, select Change under the access level column
- You will see the user's current settings. Apply the desired new settings to this profile
- Select Remove Access to restrain the user from accessing their account. - Note: If you wish to cancel the changes, select the back button leading to the Manage account users page
Switch to e.Bill - Mobility account
- Log in to My TELUS
- Select Billing
- Select Change bill format
- Select Paperless
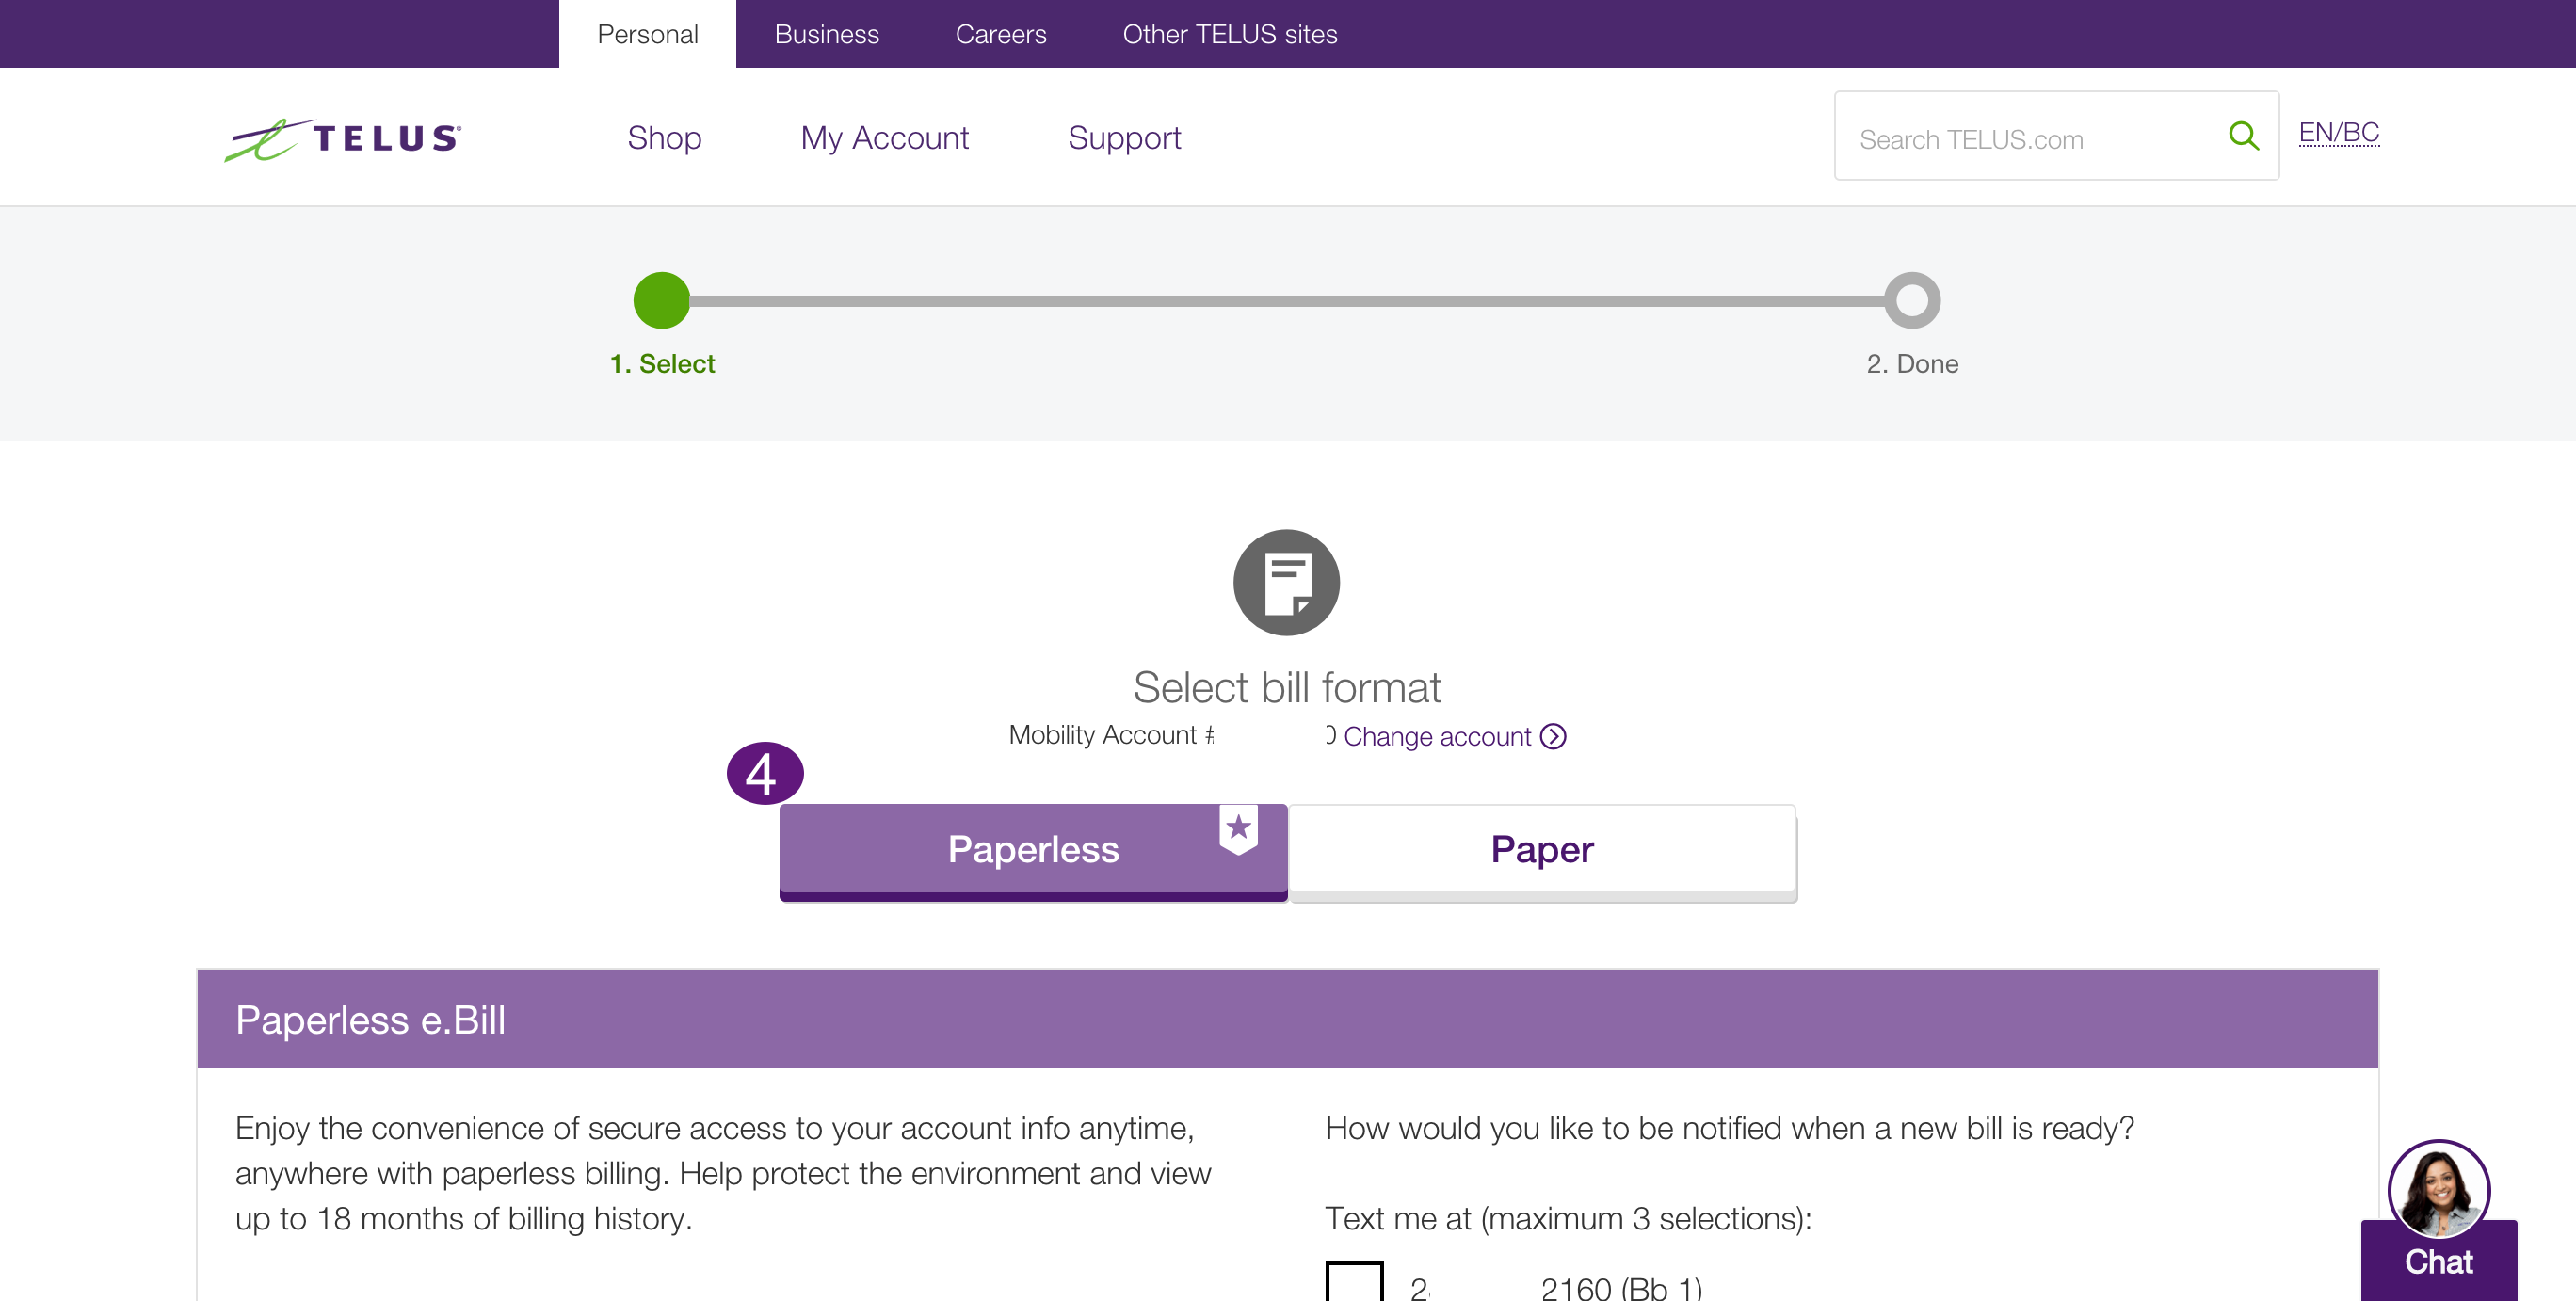
5. Set your billing notification preference, email and/or text message
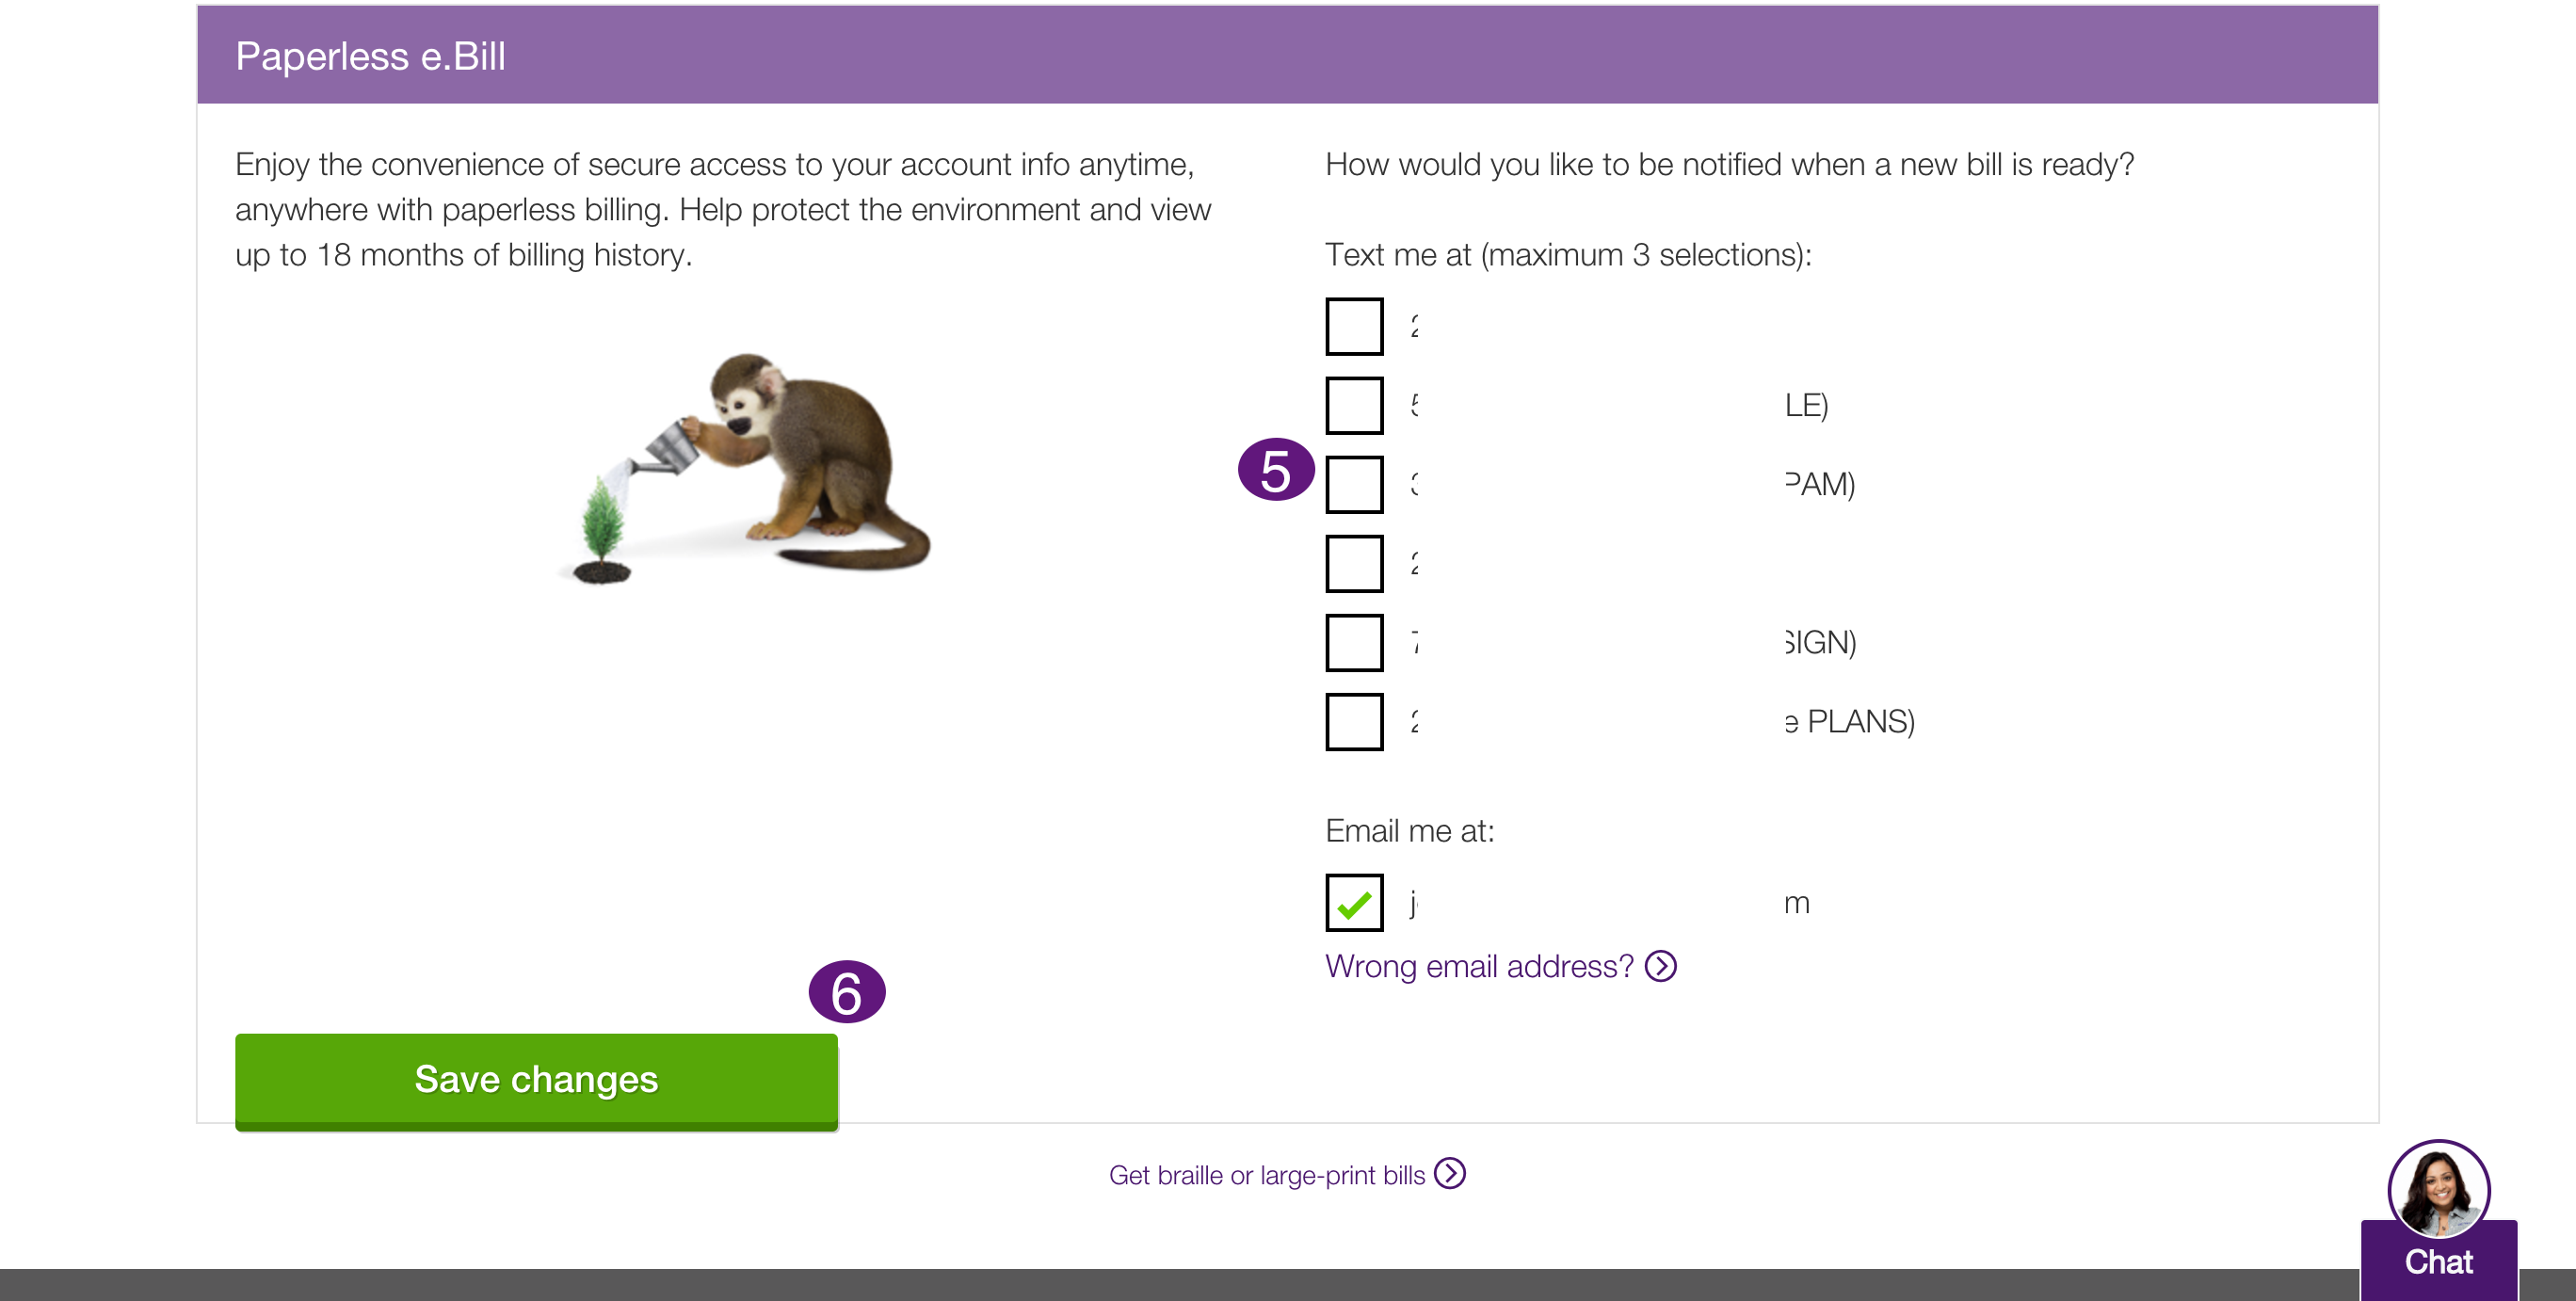
6. Select Save changes
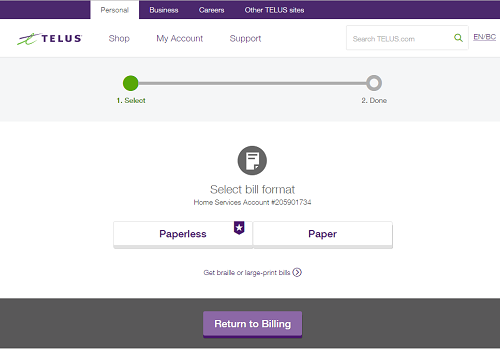
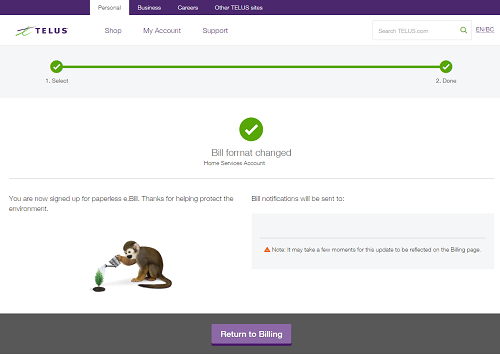
Switch to e.Bill - Home Services account
- Log in to My TELUS
- Select Billing
- In the Home Services bill , select Change bill format
- Complete the 2-step flow
If you are changing your existing SIM card, be sure to update your My TELUS profile with your new SIM number.
Update your SIM number in My TELUS
Register or log in to My TELUS and visit the change your SIM card page. If you have multiple subscribers or phone numbers, follow these steps below to bring your number to TELUS:
- Go to Plans & Devices in My TELUS
- Select the subscriber that will be swapping their SIM card
- Select the Device tab
- Select Swap your SIM card and follow the steps on that page
Once your My TELUS profile is updated, you can set up your SIM/eSIM card by following the steps below.
Your voicemail is ready to accept messages as soon as it’s added to your account. Until you set up your voicemail will hear the default system greeting. You are only 2 simple steps away from using your new voicemail!
Note: You will be charged regular airtime rates (or use your included minutes) when setting up and using voice mail.
Step 1: From your mobile device, hold down the key. This will dial your voicemail access number. Or, you can call your own 10-digit mobile phone number from your mobile phone, this will also bring you to your voicemail.
Step 2: From voicemail, follow the prompts to set up Password, record your Name and your Personal Greeting.
When prompted enter a password between 4 and 15 digits long. Choose a password that is hard for others to guess. Avoid using repetitive and sequential numbers such as 1111, 1234, etc
Note: If this is not your first time setting up your voicemail and you forgot your password, please go to Change or reset your mobile voicemail password.
Choose whether you want to bypass your password when calling from your own phone.
Tip: You will hear an option to “Bypass Password” every time you access your voicemail from your mobile phone. To protect your privacy and security, TELUS recommends you do not select this bypass option. If you choose not to bypass password, please press * when prompted.
Record your Name and Personal Greeting.
Tip: Name and Personal Greeting is optional. If you do not want to record your name and personal greeting, the caller will still hear a default system greeting.
When finished, you may hang up or press * ** to end the call.
Download the handy TELUS Voicemail Quick Reference Guide to reference features and helpful tips.
Visual Voicemail is available for iPhone and select Android phones, try it out!
iPhone
- Open your iPhone Settings
- Select Phone
- Select Wi-Fi Calling
- You will need to read and accept the Wi-Fi Calling Terms and Conditions
- Enter your Emergency 911 Address
Android
- Open Phone > Settings
- Select Call Settings
- Turn on Wi-Fi Calling
- Enter your phone number. You will be sent a text message with a 6 digit one-time passcode *
- Enter the 6 digit one-time passcode *
- You will need to read and accept the Wi-Fi Calling Terms and Conditions
- Enter your Emergency 911 Address
- Close your browser
*LG G7 ThinQ, LG K9, LG Q Stylo+ and LG V30 exempt